
The Sleepy Circuits Hypno is a video synthesizer that can generate video using two video oscillators that generate a variety of shapes shapes. Each video oscillator can be manipulated using a series of buttons, sliders, and dials. The Hypno can also accept video input via USB for each of the two video oscillators, allowing it to manipulate video (live or pre-recorded) in real time. Sleepy Circuits has a lot of great info about how to use the Hypno spread between the manufacturer’s website and their YouTube channel. However, in my opinion, they lack a single resource that functions like a full manual taking you through how to use the Hypno from beginning to end. I hope to do this in a few blog entries.
Let’s start off by looking at inputs and outputs. The back face of the Hypno features four USB inputs that can be used for connecting cameras, capture cards, USB drives, and MIDI instruments. The right hand side of the module features an HDMI out, a composite out, and a micro USB port which is used to power the unit. The Hypno is a bit picky in terms of the order you plug things in. You should always plug in the HDMI out before plugging in the power. When you plug in the power, you will notice that the Hypno goes through a boot up process. Note that there is no power switch, so turning the unit on and off is done through plugging it in and unplugging it. If you are going to use any USB input, you would plug that in third, after plugging in the power.
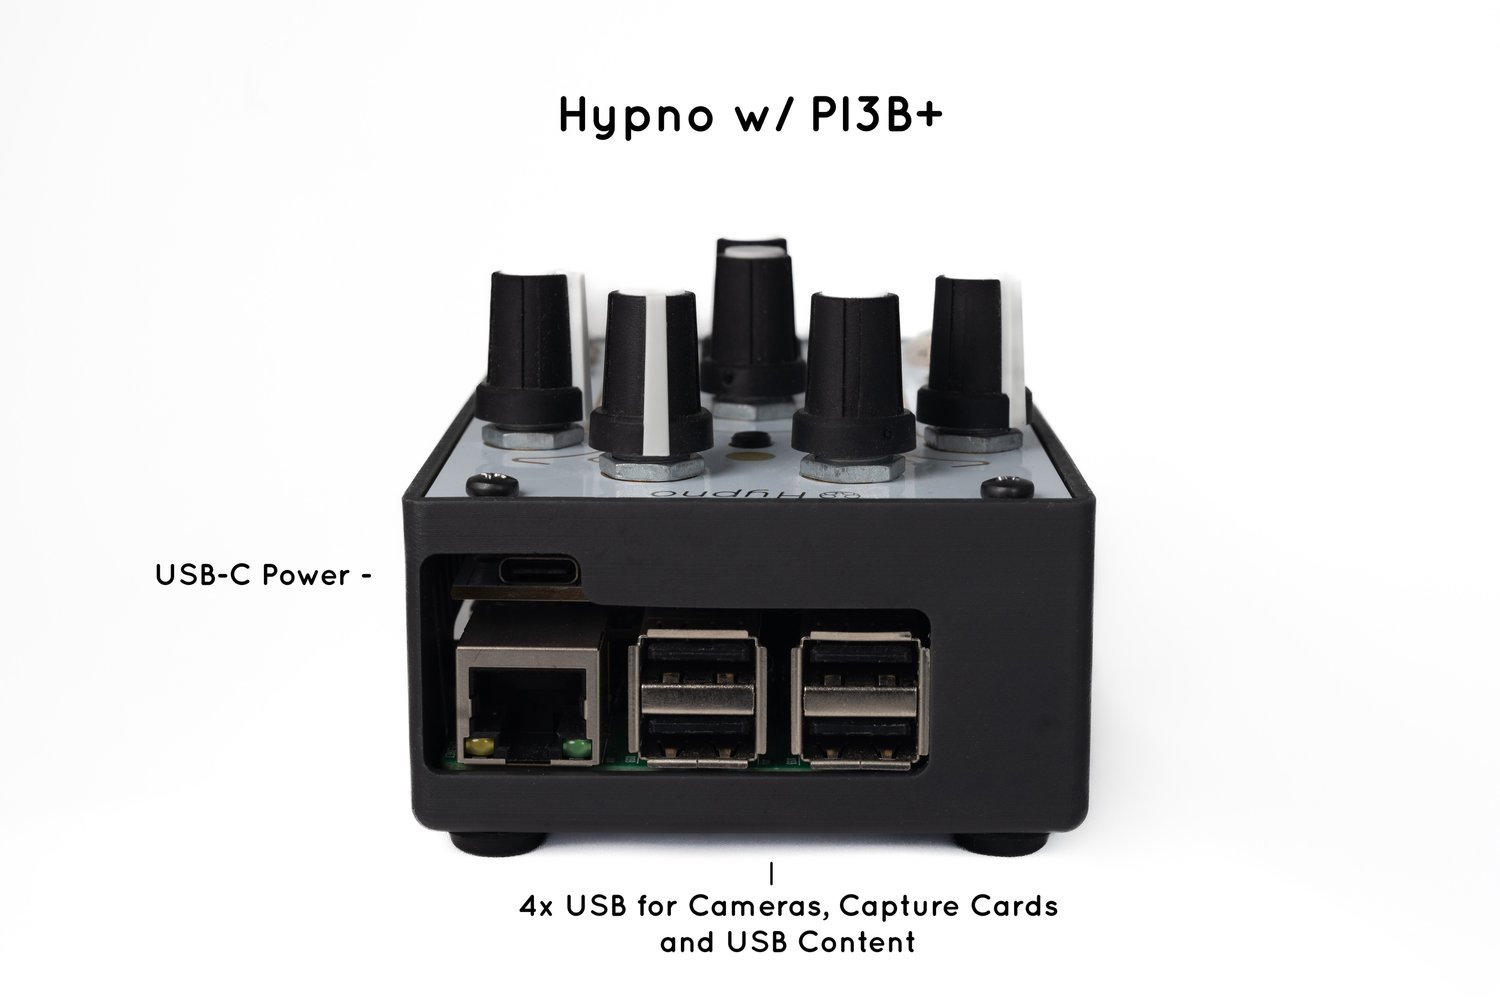
image from Sleepy Circuits.
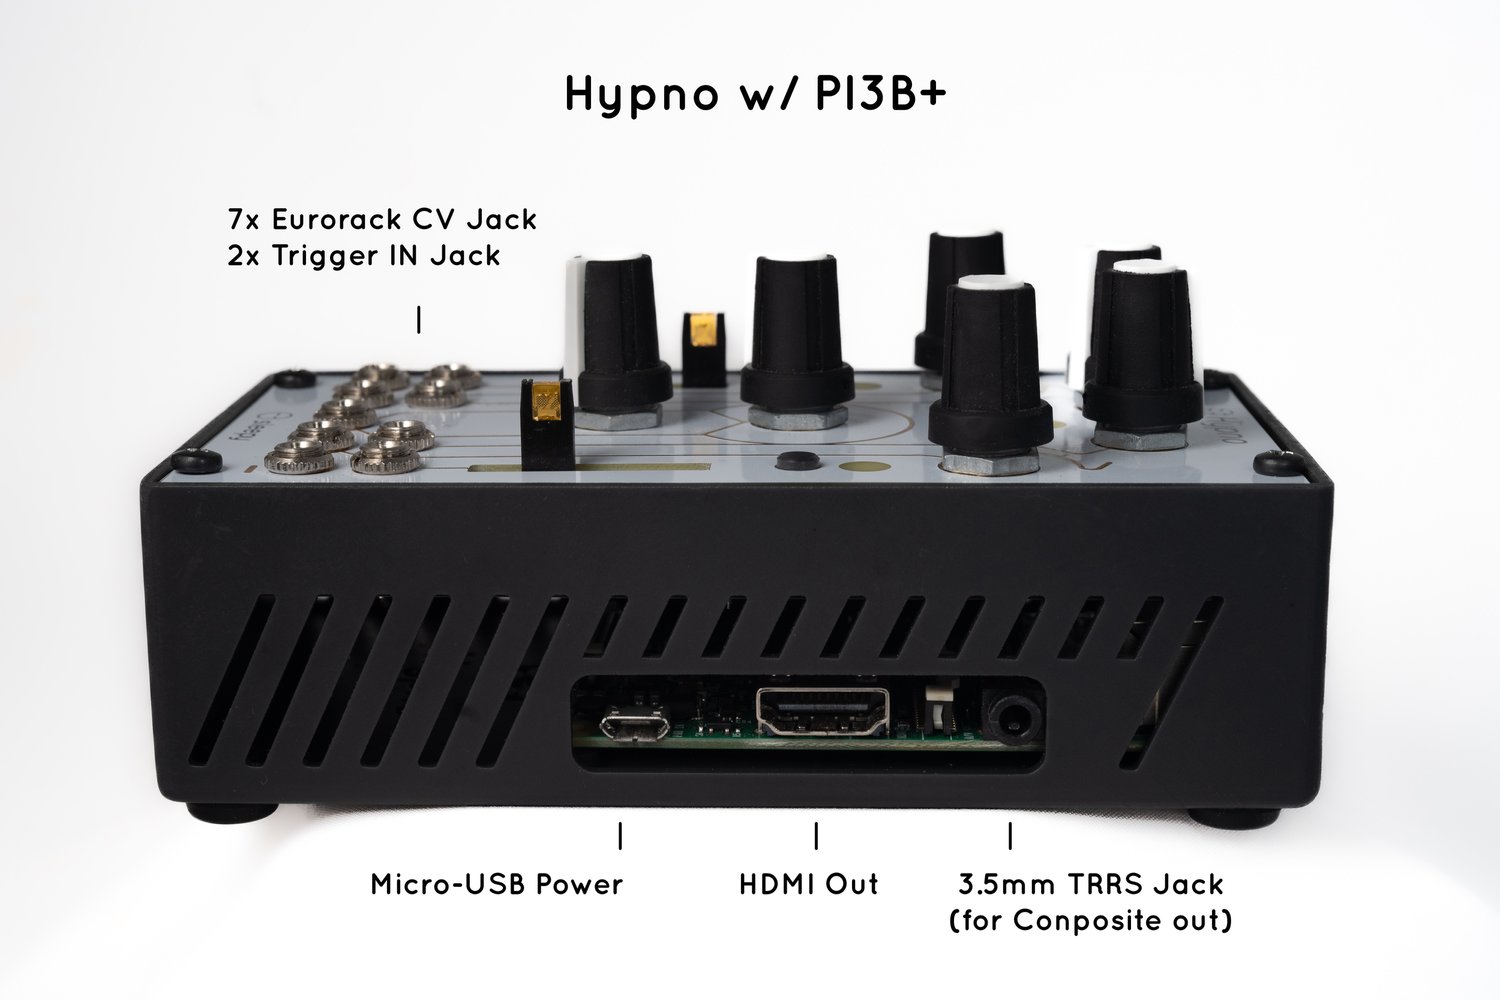
image from Sleepy Circuits.
The face of the Hypno features two sliders, three buttons, and six dials. Since each of these fulfills several functions, none of them are labelled. The face also has nine 3.5mm TS sockets for use with Eurorack and Eurorack compatible gear. These nine ports can be used to control / automate the two sliders, two of the three buttons, and five of the six dials. We’ll spend more time dealing with this in a future post. However, if you plan on using these Eurorack connections, you will want to connect them after connecting power.
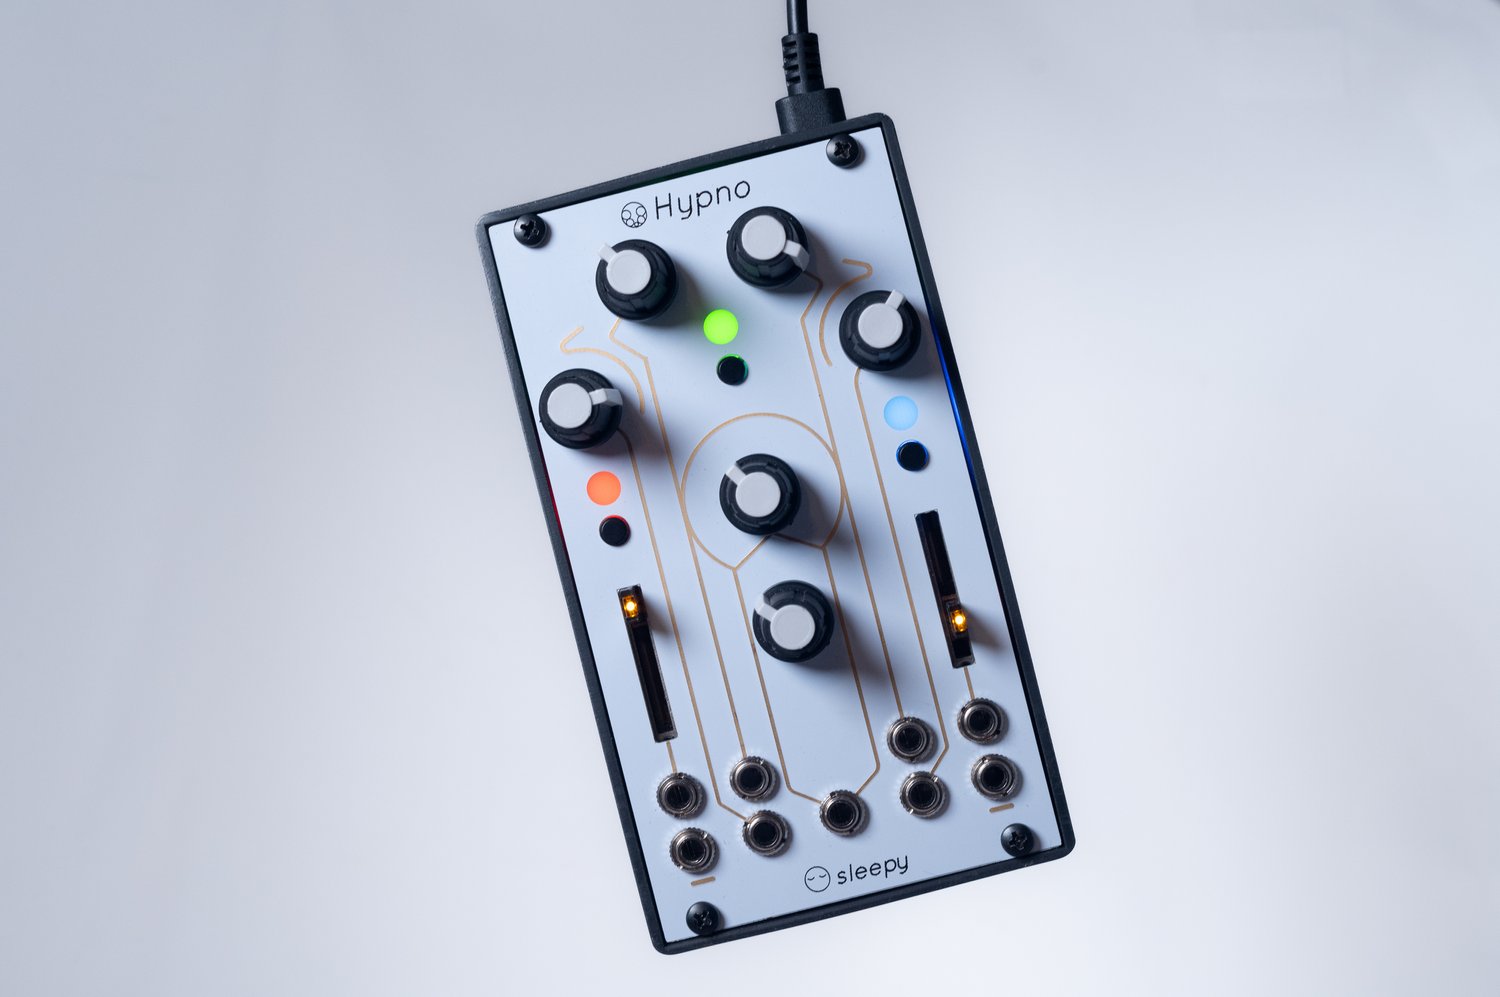
image from Sleepy Circuits.
At this point, you should be able to correctly connect the Hypno to inputs, outputs, and power in the correct order.