
As previously stated, the face of the Hypno features two sliders, three buttons, and six dials. For convenience, through this manual, I will refer to the two sliders as A & B (left to right) and the three buttons as A, B, & C (left to right). For the dials I will refer to the four at the top as A, B, C, & D (left to right) and the two in the center as E & F (middle to bottom). The Hypno has several modes of operation that are accessed by holding down (or not holding down) buttons. I will refer to the mode where no buttons are being held down as performance mode.
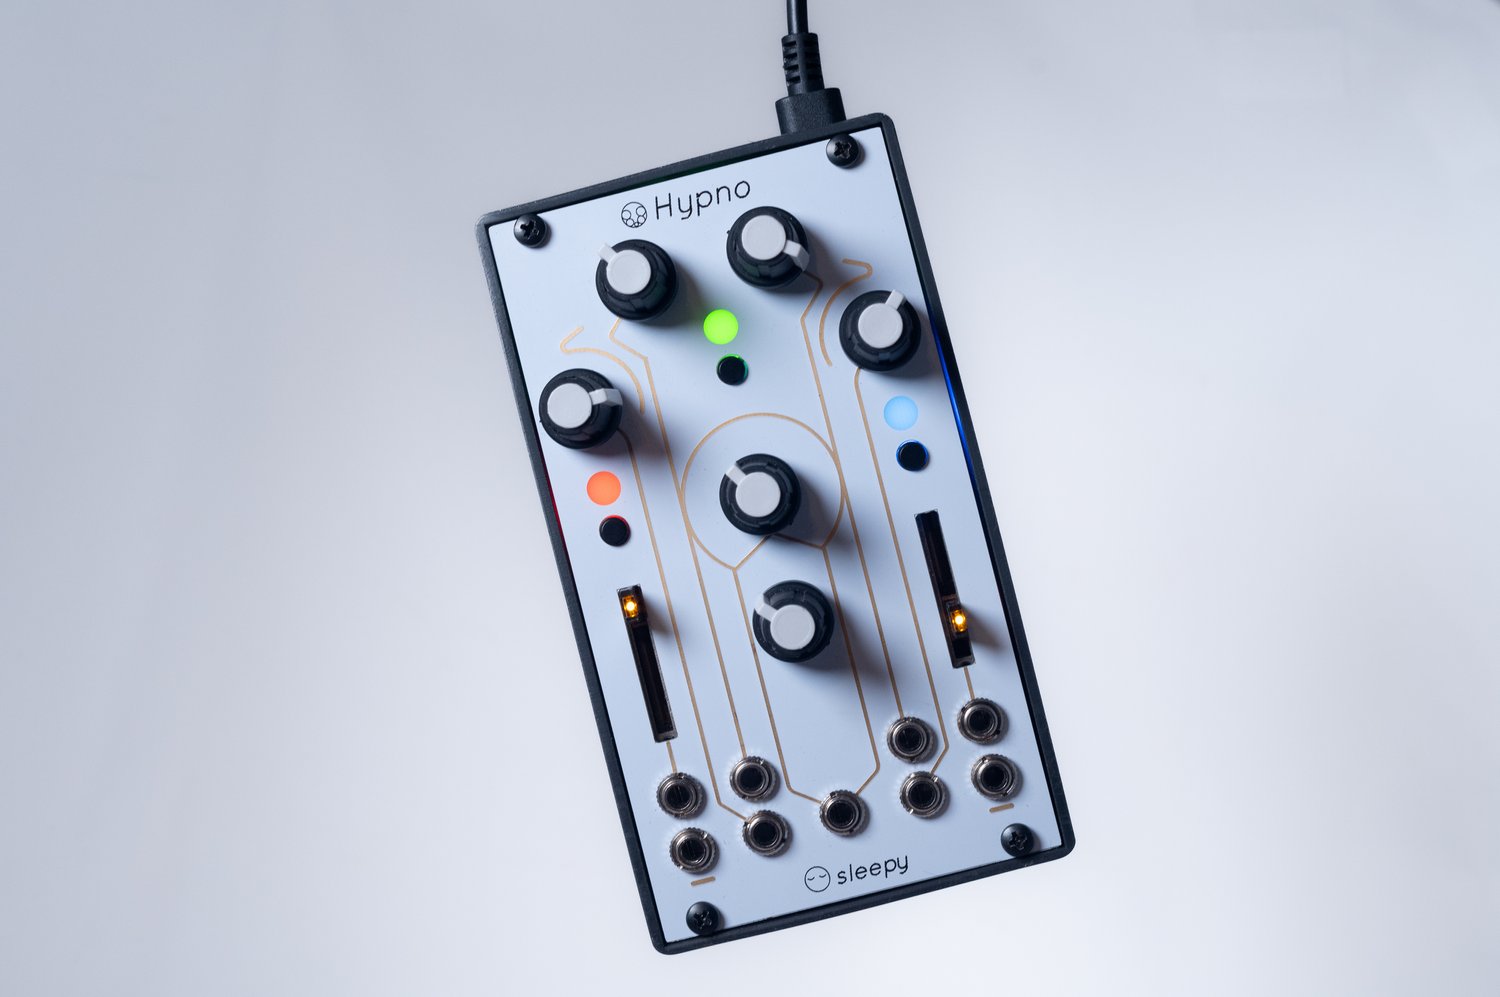
image from Sleepy Circuits.
To get started with the Hypno, let’s not use any input, and just use it to generate video using its two video oscillators. The module is symmetrical, so the controls on the left (slider A, button A, and dials A & B) generally control the first oscillator, while the controls on the right (slider B, button C, and dials C & D) control the second oscillator. The controls in the middle (button B and dials E & F) generally control the module as a whole.
Buttons A & C set the shape for the two oscillators. Pressing the buttons cycles through the shapes, sine, tan, poly, circle / oval, fractal noise, and video input. These shapes are coded with the color of corresponding LED (red, green, yellow, blue, pink, and teal). The last setting, teal / video input, is only accessible when a USB video input is plugged in. We’ll deal with the video input shape in a later tutorial. While the manufacturer refers to the first two shapes as sine and tan, they both are essentially lines. The polygon shape is a septagon by default.
| Red | Sine |
| Green | Tan |
| Yellow | Polygon |
| Blue | Circle / Oval |
| Pink | Fractal Noise |
| Teal | Video Input |
A silent video demonstration of the five basic shapes in Hypno.
Sliders A & B set what the manufacturer calls frequency, but perhaps it is better understood as a zoom function. The zoom feature can be very useful when you are first getting used to the Hypno. Zooming in completely, that is pulling the slider all the way to the bottom can make a video layer disappear, so you can better see the effect of each control. Dials A & D rotate the selected shapes, and dials B & C control the polarization of the shapes. When polarization is low, the shapes appear normal. As polarization increases, the shapes start to bend until they completely wrap around, forming concentric circles. However, it should be noted that for the polygon, circle / oval, and video input shapes, dials B & C function as Y (vertical) offsets.
A silent video demonstration of the zoom, rotate and polarization / y offset controls on the five basic shapes.
The remaining two dials (E & F) control both oscillators. The former controls the gain of each shape, with the center position resulting in a black out of both layers. The latter dial controls affects the colors of the two layers, shifting the relationship between the hues of the two layers. At this point you should understand the basic shapes and controls in performance mode for the Hypno. Notice however, with the controls we have introduced thus far, there is no movement on its own. That is the shapes only change when a control (button, slider, or dial) is changed.
Here is the Sleepy Circuits quick guide for performance mode (they call it shape pages) . . .
video by Sleepy Circuits